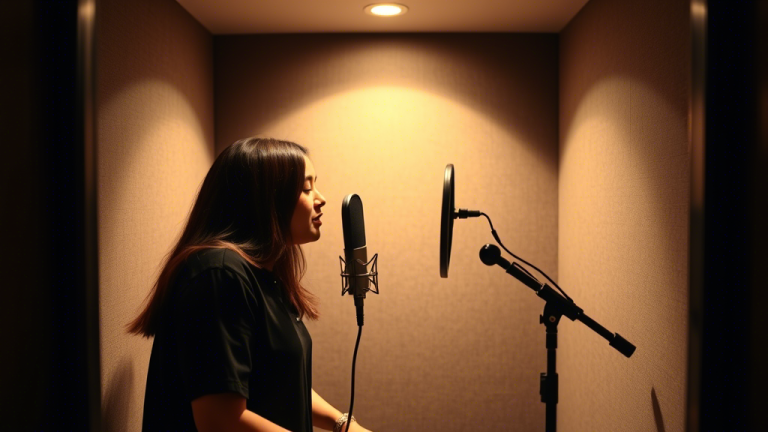
Creating a DIY soundproof booth for musicians can be a rewarding project that enhances your recording quality and minimizes noise disturbances. Whether you’re a professional musician or a hobbyist, a soundproof booth can make a significant difference in your audio recordings. Here’s a comprehensive guide to help you build your own soundproof booth.
Materials Needed
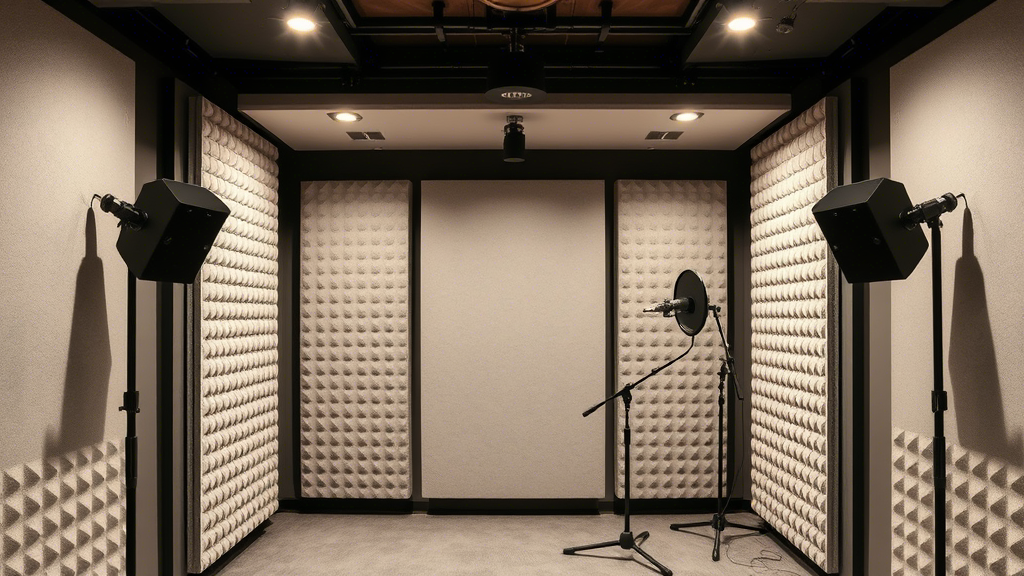
- Acoustic foam panels
- Mass Loaded Vinyl (MLV)
- Plywood or MDF boards
- Insulation material (e.g., fiberglass or rockwool)
- Weatherstripping tape
- Door sweep
- Sealant (acoustic caulk)
- Nails, screws, and a drill
- Measuring tape and level
Step-by-Step Instructions
1. Plan Your Space
First, determine the size and location of your soundproof booth. Consider the space you have available and the type of instruments you’ll be recording. A small, enclosed room or a corner of a larger room can work well.
2. Build the Frame
Construct the frame of your booth using plywood or MDF boards. Ensure the frame is sturdy and fits the dimensions of your planned space. Use a level to make sure the frame is even.
3. Install Insulation
Fill the frame with insulation material like fiberglass or rockwool. This will help absorb sound and prevent it from escaping the booth. Make sure the insulation fits snugly within the frame.
4. Add Mass Loaded Vinyl
Attach Mass Loaded Vinyl (MLV) to the inside of the frame. MLV is a dense material that blocks sound waves, adding an extra layer of soundproofing. Secure it with nails or screws.
5. Apply Acoustic Foam Panels
Cover the interior walls with acoustic foam panels. These panels will absorb sound reflections and improve the acoustics within the booth. Arrange them in a pattern that maximizes sound absorption.
6. Seal Gaps and Cracks
Use acoustic caulk to seal any gaps or cracks in the frame. Pay special attention to corners and edges where sound might leak through. Apply weatherstripping tape around the door frame to ensure a tight seal.
7. Install a Door Sweep
Attach a door sweep to the bottom of the door to block sound from escaping underneath. This small addition can make a big difference in the overall soundproofing effectiveness.
8. Test Your Booth
Once your booth is complete, test it by playing music or speaking inside. Listen for any sound leaks and make adjustments as needed. You may need to add more insulation or foam panels to achieve the desired level of soundproofing.
Tips for Success
- Use heavy, solid-core doors for better soundproofing.
- Consider adding a second layer of drywall for additional mass.
- Ensure proper ventilation to avoid overheating during long recording sessions.
By following these steps, you can create a DIY soundproof booth that meets your musical needs. Enjoy improved sound quality and a more professional recording environment!