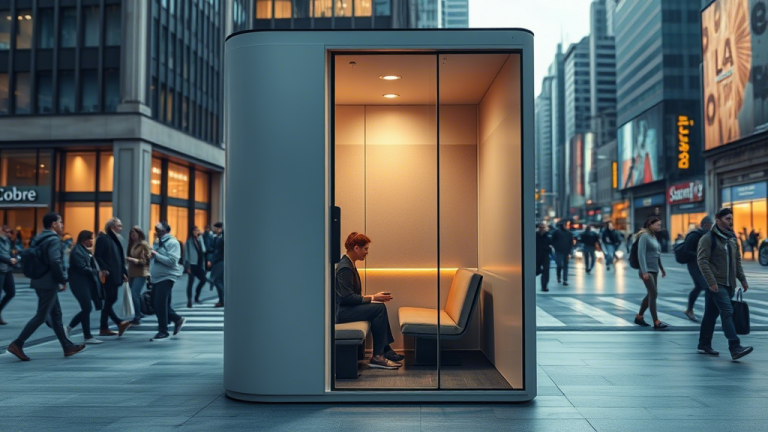
Creating a DIY acoustic booth can be a cost-effective way to improve sound quality for recording, podcasting, or even practicing music. With the right materials and a bit of effort, you can build a space that minimizes unwanted noise and enhances audio clarity. Here’s a step-by-step guide to help you set up your own acoustic booth.
1. Choose the Right Space
Start by selecting a quiet room or corner in your home. Ideally, this space should be away from high-traffic areas and external noise sources like windows or doors. A closet or small room works well for this purpose.
2. Gather Materials
You’ll need the following materials to build your acoustic booth:
- Acoustic foam panels
- Heavy curtains or moving blankets
- PVC pipes or wooden frames
- Zip ties or adhesive strips
- Carpet or rugs
- Weatherstripping tape
3. Build the Frame
Use PVC pipes or wooden frames to create a structure that fits your chosen space. This frame will serve as the skeleton for attaching acoustic materials. Ensure it’s sturdy and can support the weight of the foam panels and curtains.
4. Install Acoustic Panels
Attach acoustic foam panels to the frame using zip ties or adhesive strips. Focus on covering the walls, ceiling, and any reflective surfaces. These panels will absorb sound waves and reduce echo.
5. Add Heavy Curtains or Blankets
Hang heavy curtains or moving blankets around the frame to further dampen sound. These materials are excellent for blocking external noise and improving sound insulation.
6. Lay Down Carpet or Rugs
Place a carpet or rugs on the floor to minimize sound reflections. Hard surfaces like wood or tile can cause echoes, so adding soft flooring is essential for better acoustics.
7. Seal Gaps
Use weatherstripping tape to seal any gaps around doors or windows. This step ensures that no external noise leaks into your booth and that your recordings remain clean and clear.
8. Test and Adjust
Once your booth is set up, test it by recording or playing audio. Listen for any remaining echoes or noise and make adjustments as needed. You may need to add more foam panels or reposition existing ones.
By following these steps, you can create a functional and effective DIY acoustic booth that meets your audio needs. Happy recording!

